Shader Logo Animation: How It Works
Learn how browser shader logo animation turns a logo mask into deterministic light, material, color, and distortion effects, then exports video locally.
 LogoFuse Team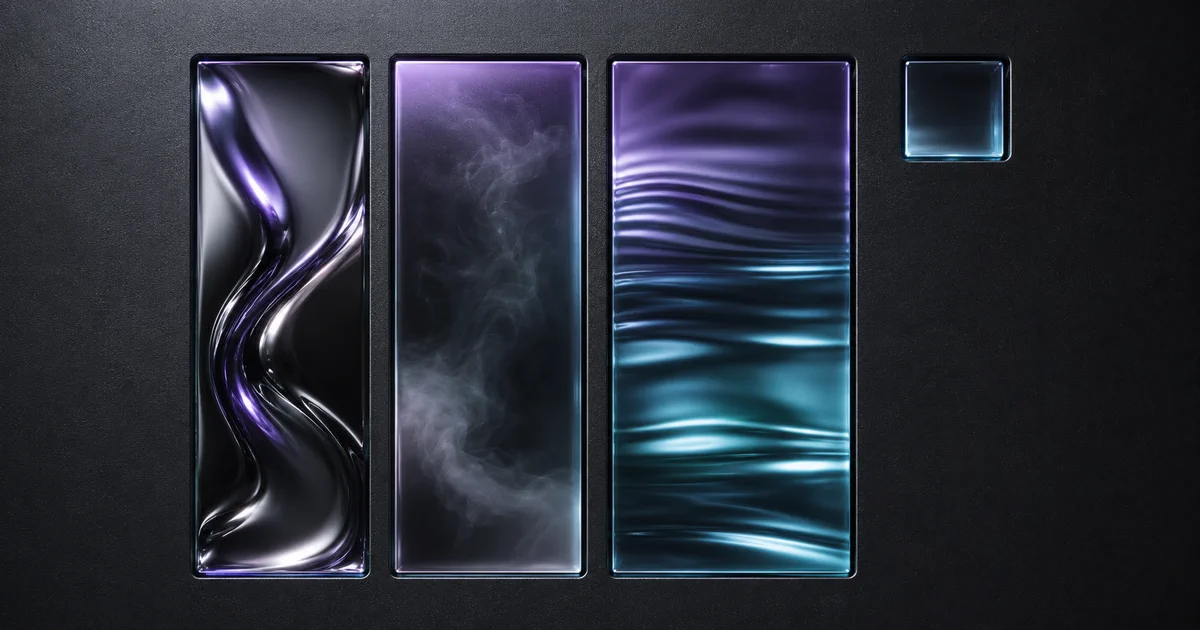
Shader logo animation uses an existing logo as a visual mask and calculates color, light, distortion, or material for every rendered frame. The same logo, preset, parameters, and timeline produce the same result. It is a deterministic graphics workflow, not a text-to-video model.
Key takeaways
- A mask defines where the animated material can appear.
- Shader parameters calculate motion instead of storing a separate image for every frame.
- The logo silhouette remains fixed while light, color, smoke, or surface treatment changes.
- Real-time preview and final video export have different performance requirements.
- Transparency, edge quality, contrast, GPU limits, and codec support all affect output.
How does the shader logo animation pipeline work?
The browser workflow has four stages:
- Decode the logo: read SVG, PNG, JPEG, or WebP and normalize it for the renderer.
- Build a mask: use transparency and visible pixels to define the logo silhouette.
- Run the shader: calculate material, light, color, distortion, and time for each frame.
- Encode the frames: combine rendered frames and optional audio into an MP4 or WebM workflow supported by the browser.
The WebGL API exposes hardware-accelerated graphics through an HTML canvas. That makes interactive 2D and 3D shader rendering possible inside a compatible browser without a plug-in.
What is a logo mask?
A logo mask is a grayscale or alpha representation of the uploaded mark. Visible pixels define where an effect can appear; transparent pixels stay outside the mark. The mask separates the shape of the logo from the material rendered through it.
A chrome treatment and a smoke treatment can therefore use the same silhouette without changing the original geometry. A clean SVG or transparent PNG generally creates sharper boundaries than a compressed image with a baked-in background. See the MDN browser image format guide for the underlying file characteristics.
Why is the result deterministic?
A deterministic preset is driven by explicit inputs: logo texture, time, color values, speed, angle, glow, distortion, and shape parameters. If those values are unchanged, the same timeline position can be rendered again.
That is different from a generative model, which may return different results from the same prompt. Determinism is useful for brand work because an approved project can be reproduced, adjusted one parameter at a time, and exported at another resolution without asking a model to reinterpret the mark.
How do the shader families differ?
LogoFuse currently groups 12 presets into three practical families:
- Heatmap effects move a color field through the mark. They suit spectral gradients, edge glow, and energetic reveals.
- Liquid Metal effects create reflective bands, waves, chromatic separation, and moving highlights. They read best when the logo has enough interior area for the material.
- Gem Smoke effects combine inner light, atmospheric movement, distortion, and outer glow. They create a softer reveal but need restraint around fine edges.
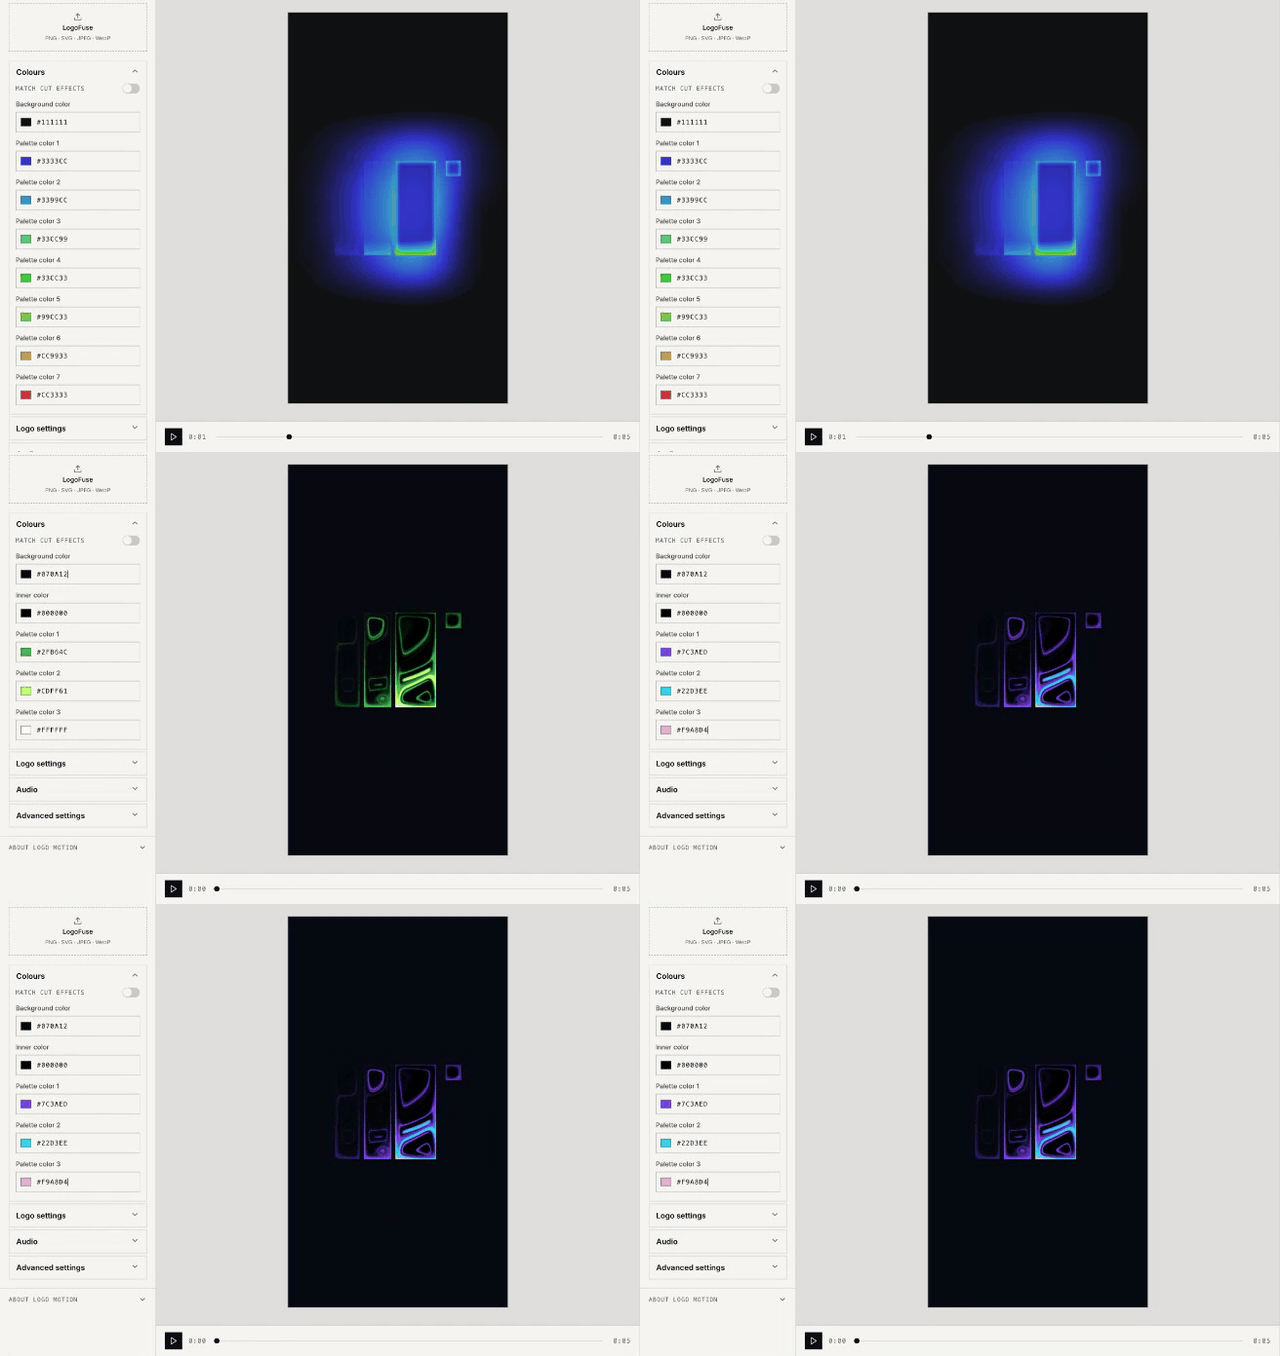
Shader parameters update the preview directly; one logo mask can carry multiple materials and color systems.
Which shader controls matter most?
Start with the variables that protect recognition, then move to decorative controls.
| Control | What it changes | Common failure |
|---|---|---|
| Background and palette | Brand contrast and overall color direction | Logo disappears into a similar background value |
| Speed | How quickly the material crosses the logo | Fast motion reads as flashing rather than intention |
| Angle | Direction of light or field movement | Highlights miss the most recognizable part of the mark |
| Glow | Light beyond the logo boundary | Fine edges merge into a soft blob |
| Distortion | How far the material departs from the original surface | Silhouette becomes difficult to identify |
| Scale and position | Safe area inside the 9:16 stage | Platform UI or cropping covers the mark |
Adjust one variable at a time. Raising glow, distortion, saturation, and speed together makes it impossible to identify which change reduced legibility.
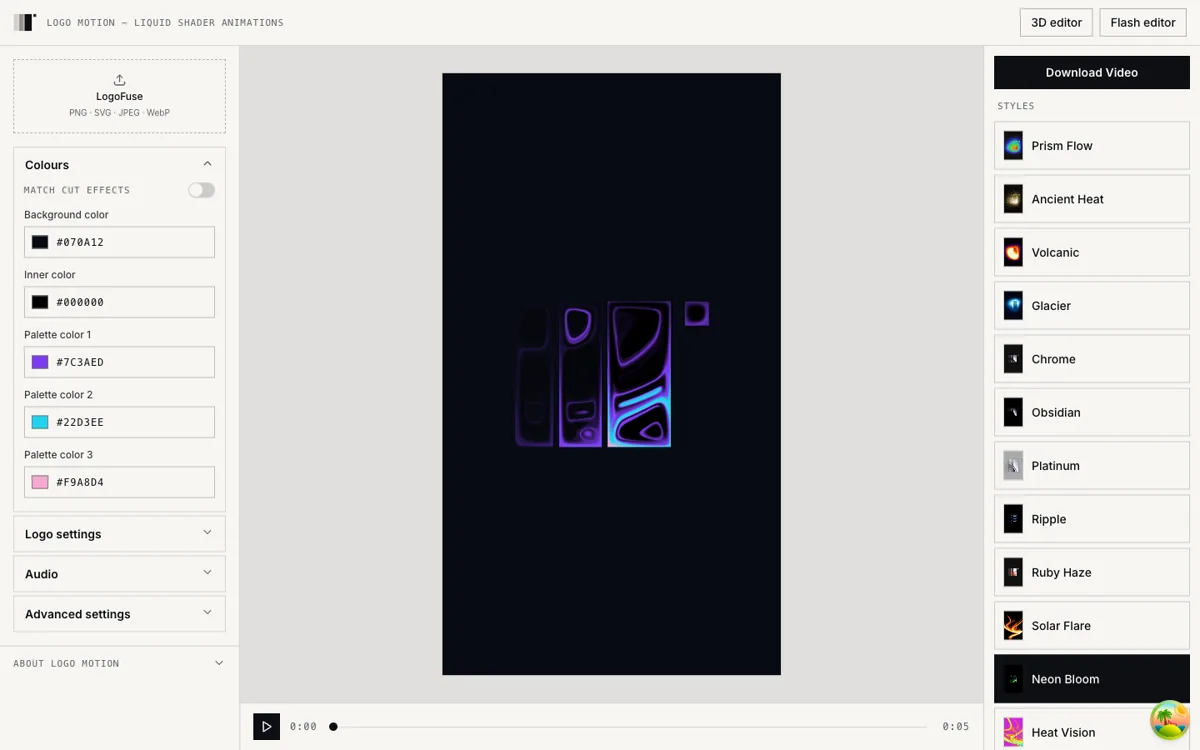
A customized Neon Bloom project with the background and palette set before advanced parameters.
Why can preview and export behave differently?
Preview only needs to draw frames quickly enough for interaction at the on-screen canvas size. Export must render every frame at the selected output resolution, synchronize audio, and encode a complete file.
A vertical 4K frame is 2160 × 3840—four times the pixel count of 1080 × 1920. Memory use, GPU texture limits, codec availability, and tab stability therefore matter more during export than during preview. Smooth playback is evidence that the effect runs, not proof that a specific device can complete every 4K encode.
LogoFuse performs its main shader rendering and encoding on the user device. The account service authorizes gated output tiers, but it does not receive every rendered frame. The MediaRecorder interface is one browser API that demonstrates how a MediaStream can be recorded into a supported MIME container.
How should a logo be prepared for shader animation?
Use this preparation checklist before tuning the effect:
- Prefer SVG or a high-resolution transparent PNG.
- Remove unnecessary empty margins around the mark.
- Test the original logo on both light and dark backgrounds.
- Check whether thin strokes survive at phone size.
- Keep the approved aspect ratio and clear space.
- Start with one preset and one palette before comparing variations.
If the logo contains a complex photographic background, use the Flash workflow or prepare a cleaner source asset first. A shader can change the treatment of visible pixels, but it cannot reliably restore transparency or edge detail that the source file does not contain.
How do you troubleshoot a weak result?
- The logo looks soft: use a better source file and reduce glow.
- The mark disappears: increase contrast between the logo treatment and background.
- The motion feels chaotic: lower speed, distortion, or palette count one at a time.
- The export fails: try 720p or 1080p, close GPU-heavy tabs, and verify browser codec support.
- The animation feels generic: keep the most recognizable movement and remove secondary effects.
The LogoFuse tutorial demonstrates the controls in sequence, and the export guide explains resolution and codec choices.
Related LogoFuse guides
- What logo motion means and where it is used
- Browser vs cloud rendering for logo animation
- Logo animation export guide: 720p to 4K
To test the pipeline with the included sample mark, open the free Logo Motion maker, choose one preset, and change only the background and palette first.