How to Use LogoFuse: Animate a Logo in 5 Steps
Learn how to upload a logo, choose one of 12 motion styles, customize colors and timing, preview the result, and export a 9:16 video in LogoFuse.
 LogoFuse Team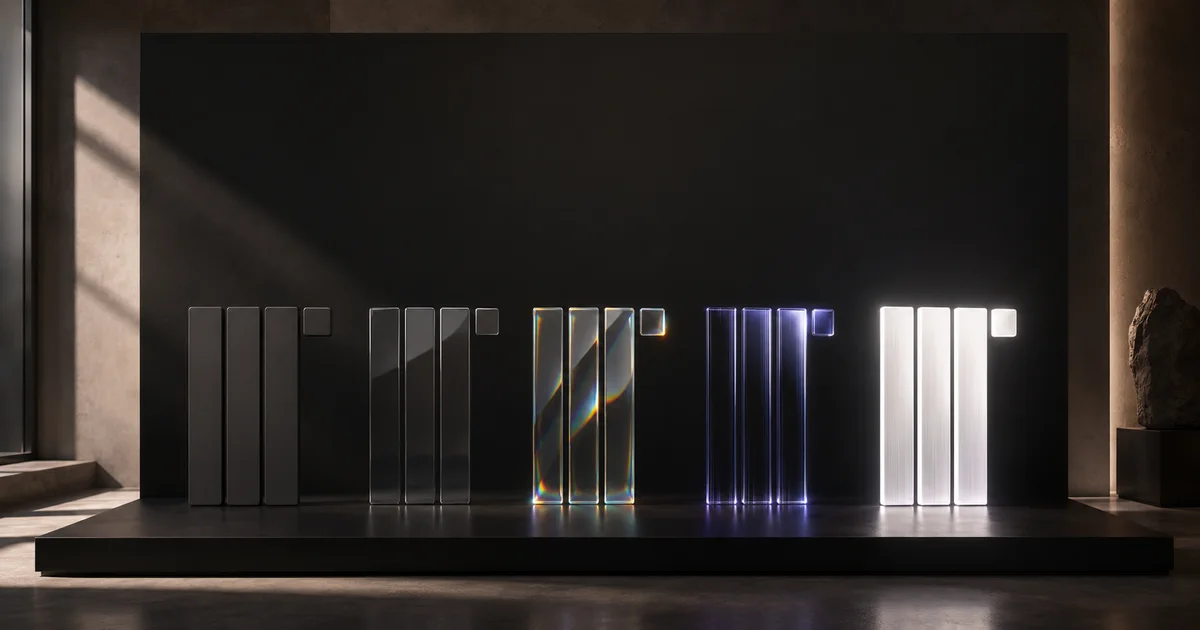
This LogoFuse tutorial covers the main Logo Motion editor. It uses an existing logo as a mask, applies a real-time shader effect, and exports the result as a 9:16 video. It does not redesign your mark, and it is not a prompt-based AI video generator.
Key takeaways
- The workflow has five steps: upload, choose a style, tune, preview, and export.
- A LogoFuse sample logo is loaded by default, so you can test styles before uploading a file.
- The editor currently includes 12 motion styles plus color, logo placement, audio, and style-specific controls.
- Preview, frame rendering, and video encoding run in the browser; sign-in and paid export allowances still use account services.
- 720p is available directly, 1080p requires sign-in, and 4K is a Premium Export that needs remaining allowance plus compatible browser and device capabilities.
Watch the video tutorial
If you prefer to follow the interface in real time, play this complete LogoFuse walkthrough before using the written steps below. The video opens inside this article and can also be viewed directly on YouTube.
The complete workflow
Do not begin by changing every advanced control. Complete one export with the defaults first. That confirms the asset, style, browser, and export path work before you spend time refining the look.

The five-step Logo Motion workflow; video encoding runs locally in the browser.
Step 1: Upload your logo
Open the Logo Motion editor and click the upload area in the upper-left corner. The current editor accepts SVG, PNG, JPEG, and WebP files.
For cleaner edges, start with a transparent SVG or a high-resolution transparent PNG. JPEG and solid-background images can be read, but their backgrounds become part of the asset and are usually harder to control.
The page loads a LogoFuse sample by default. On your first visit, use that sample to confirm the shader renders correctly, then replace it with your own file. This quickly separates an input-file problem from a browser-rendering problem.
Step 2: Choose a motion style and play it
The right panel contains 12 style presets. Clicking a style re-renders the central 9:16 stage. Use the play button beside the timeline to judge the full animation instead of relying on one still frame.
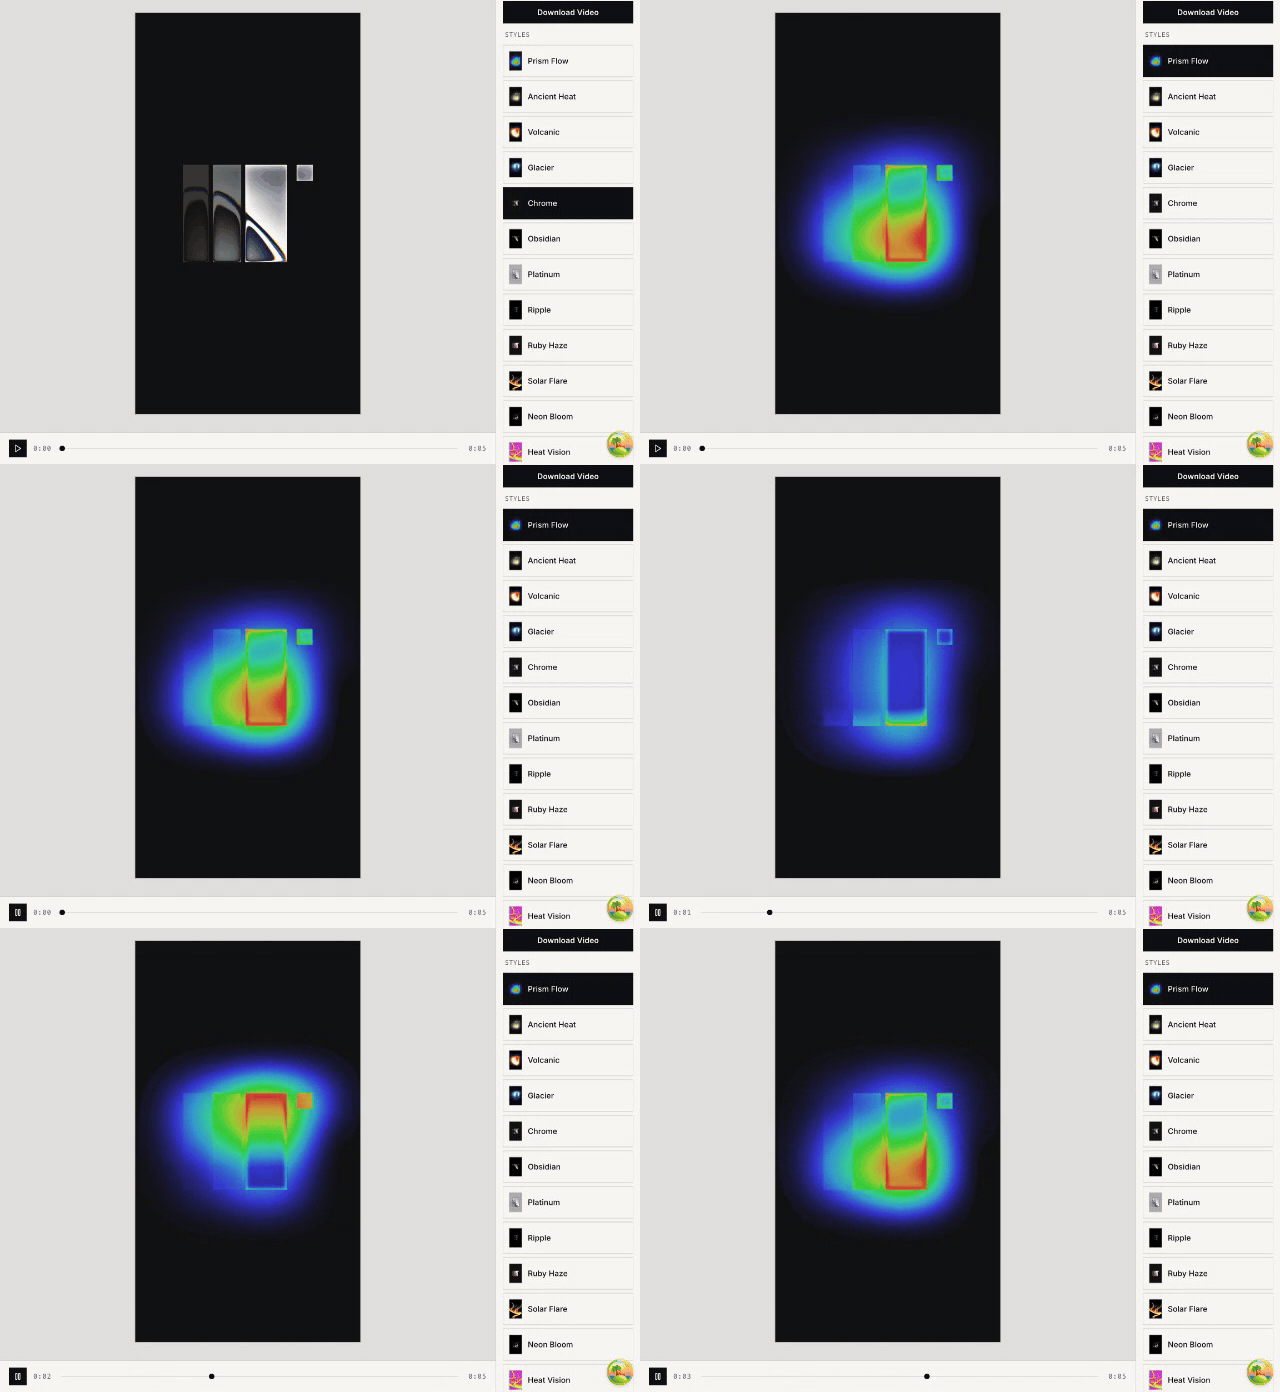
Choose a style, then play the full timeline before making a decision.
As a practical starting point:
- Chrome, Platinum, and Obsidian suit restrained technology and product-launch work.
- Neon Bloom, Ruby Haze, and Solar Flare create a stronger social-video hook.
- Prism Flow, Volcanic, and Glacier are useful when color movement should carry the effect.
These are starting points, not rules. Keep the version whose silhouette remains clear and recognizable at phone size.
Step 3: Tune color, logo placement, and rhythm
Use the Colours panel to change the background and the active style's tint or palette. Match Cut Effects exposes multiple colors and cycles them over time. The exact controls change with the selected shader family.
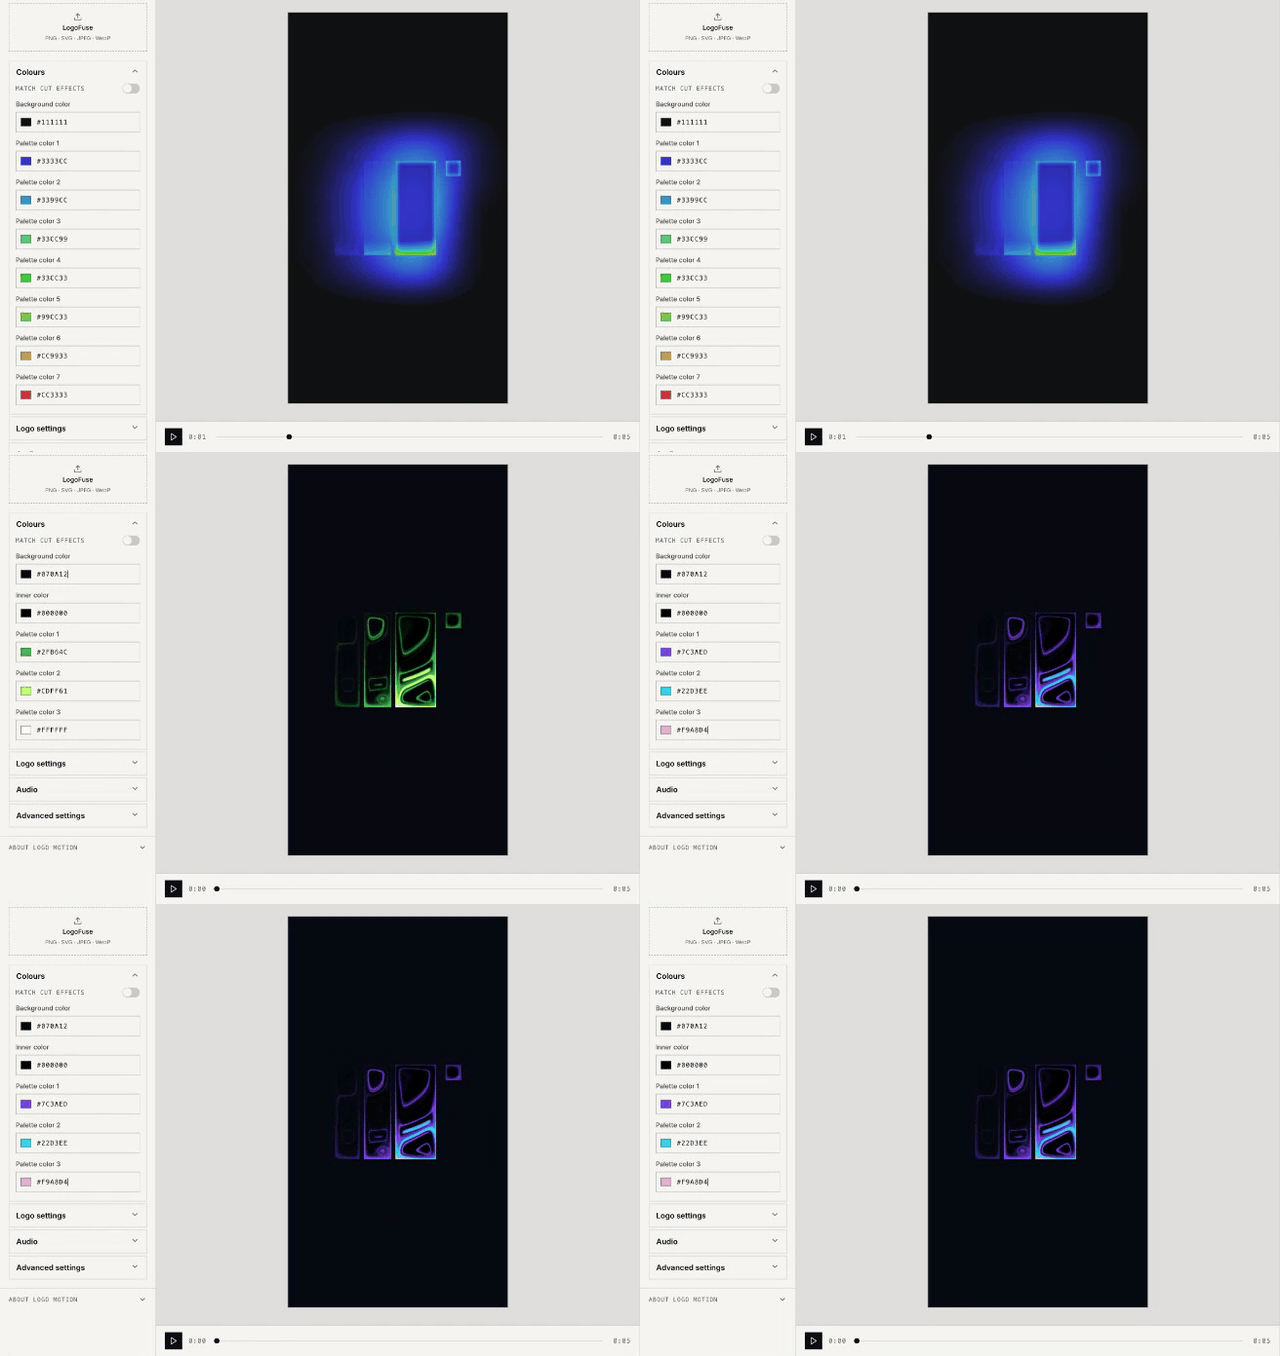
Color inputs update the preview directly, making brand-color tests quick.
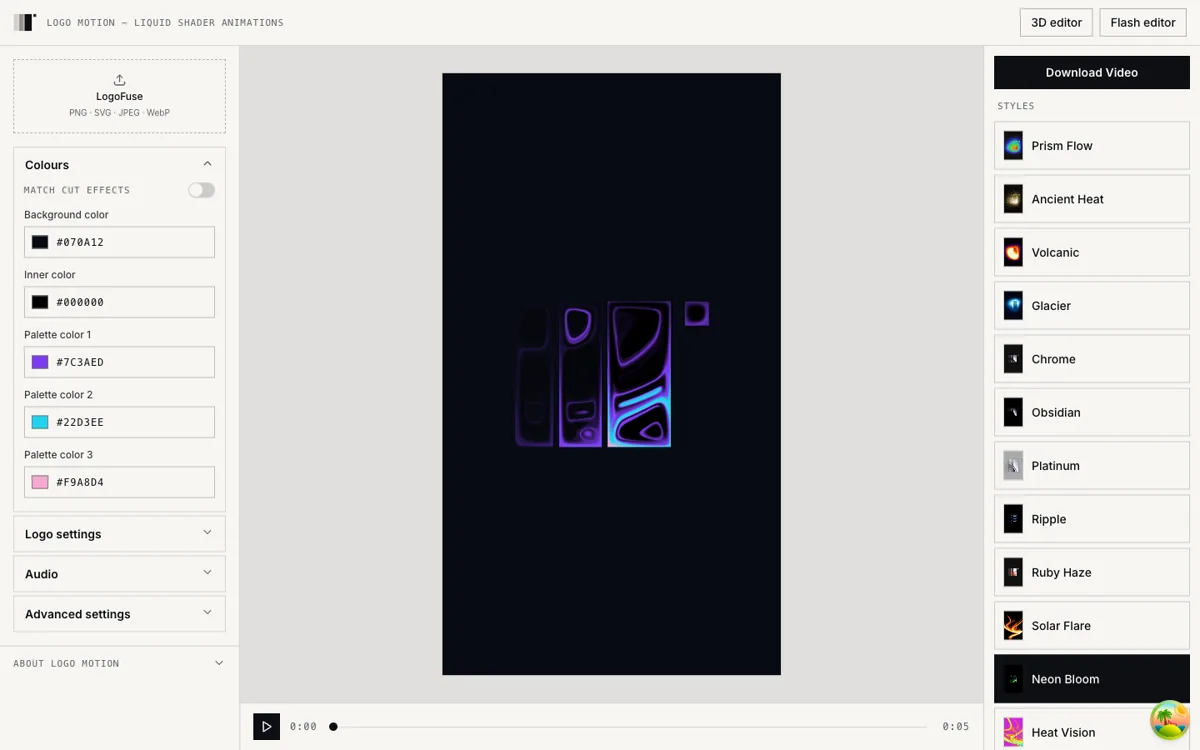
A Neon Bloom example using a dark background with purple, cyan, and pink.
Use this order to avoid unnecessary rework:
- Set the background first and confirm the mark has enough contrast.
- Add the primary and secondary brand colors; reduce a crowded palette to two or three colors.
- Open Logo settings and adjust scale plus the X/Y position so the mark stays away from the frame edge.
- Choose a bundled track or upload audio when needed, then set its volume.
- Open Advanced settings last. Contour, glow, distortion, softness, and related controls vary by style family.
If a preset already keeps the logo clear, do not increase every advanced control just to make it more complex. Recognition matters more than effect count.
Step 4: Preview the entire animation
Scrub the middle and ending of the timeline, then play it once from start to finish. Check at least three things:
- Recognition: the logo remains identifiable during its brightest, darkest, and most distorted moments.
- Safe area: the mark does not sit against the edge of the 9:16 stage where platform UI may cover it.
- Pacing: color changes and audio do not create meaningless flashing; reduce colors or effect strength when they do.
If preview playback stutters, close other GPU- or memory-heavy tabs. A smooth preview does not guarantee a 4K export: high-resolution output also depends on the encoder, GPU texture limit, and available memory.
Step 5: Choose a resolution and export
Click Download Video in the upper-right corner. The current dialog presents three output levels:
- 720 × 1280 at 30 FPS: free; useful for drafts and lightweight publishing.
- 1080 × 1920 at 30 FPS: available after sign-in; the practical choice for most final social posts.
- 2160 × 3840 at 30 FPS: a Premium Export for 4K masters or explicit delivery requirements.
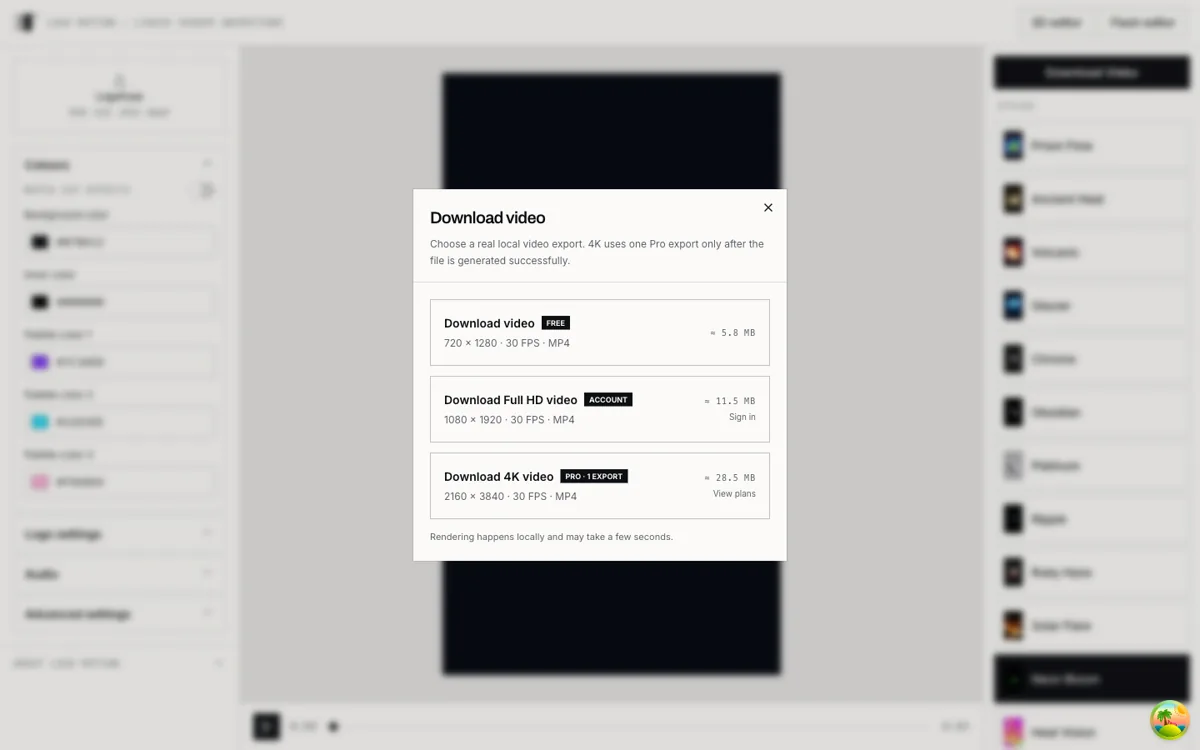
The export flow checks account access and local encoding capability, then estimates file size.
LogoFuse prefers H.264 MP4. At lower resolutions, a compatible browser can use a WebM fallback when the preferred path is unavailable. Keep the tab active until the file is complete. The MDN video codec guide explains why container and codec support vary by browser. See the logo animation export guide and current plans and allowances for LogoFuse-specific detail.
Logo Motion or the Flash editor?
They solve different problems:
- Logo Motion keeps the logo on one stage and creates a continuous shader, material, light, and color treatment.
- Flash editor cuts the logo across multiple brand, material, interface, and device scenes.
Use Logo Motion for a continuous reveal, opener, or looping brand beat. Use the Flash editor for a multi-scene launch clip.
Frequently asked questions
Can I use LogoFuse without signing in?
You can test every preset and control and export at 720p. A 1080p export requires sign-in; 4K also requires an eligible plan and available allowance.
Are the logo and video rendered in the cloud?
Logo preview, frame rendering, and video encoding run in the browser. Sign-in, paid export authorization, and allowance settlement still contact the server.
Which style should I try first?
There is no universal best style. Start with Chrome to test silhouette and contrast, then try Prism Flow or Neon Bloom for color. Keep the version that stays most recognizable at phone size.
Related LogoFuse guides
- What logo motion means and where it is used
- How shader logo animation works in the browser
- Logo Motion vs Flash logo video: key differences
- Logo animation export guide: 720p, 1080p, 4K, MP4, and WebM
When you are ready, open the LogoFuse Logo Motion editor, complete one pass with the sample logo, and then upload your own mark.